Showing posts with label diy. Show all posts

Monday, 29 October 2012

Blanket

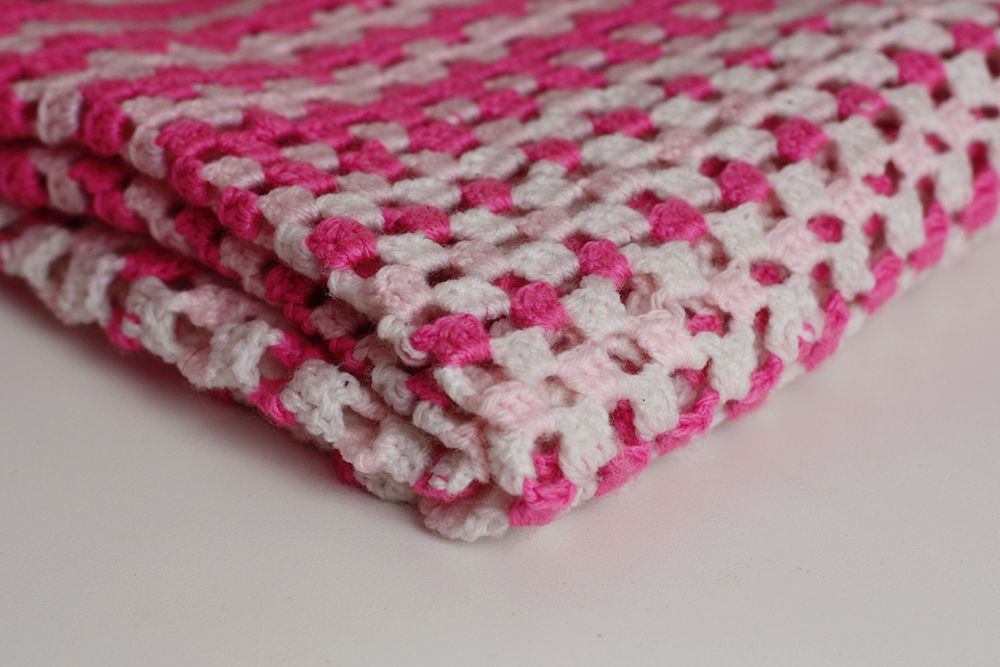
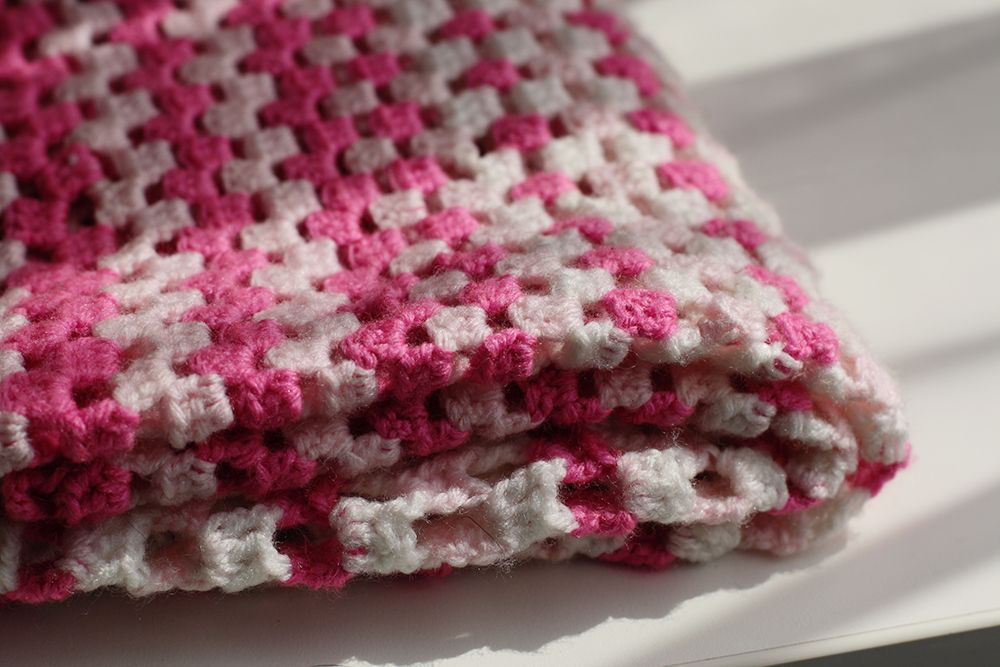
pink crochet blanket

I'd been wanting to learn how to crochet for ages, and in particular I'd been wanting to make my own blanket. I'm so pleased that I managed to learn how to do it! I'd been trying to teach myself for ages but never quite grasped it, then last year I worked with a girl called Sarah who crocheted and she kindly taught me.

It was really easy to make, so simple and worked up quickly. I didn't use any particular online instructions, but you can find them easily by a quick google! I made it pink to go in my spare room/office.

pink crochet blanket

It's not massive, just a lap blanket and it was done up until a few days ago, when I decided to add a couple more rounds to it to make it slightly bigger. But I love it and I'm excited to snugglee up under it this winter.

pink crochet blanket

I've already crocheted a couple more things too - a tiny bobble hat for an egg and one baby shoe!

Monday, 1 October 2012

Fat Ball Bird Feeders

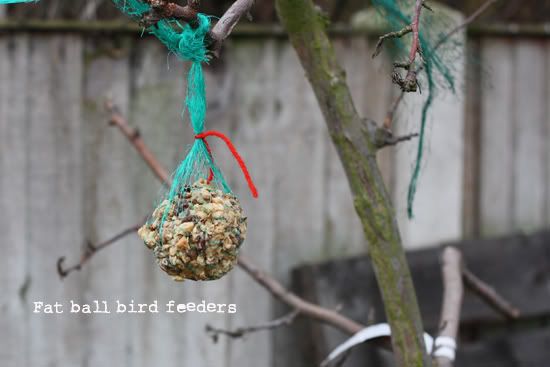
fat ball feeder

Now that October is here, the cold weather is starting to draw in, the garden is winding down (although I still have some kale and other bits to continue to feed myself with!), and we start spending more time indoors again. One thing I love to do in the winter is to make fat ball feeders for the bird, and hang them around my garden. I'm sure the birds love them too! This is a great little project to do with little ones as well, as if you have the patience you don't even need to melt the fat, you can just soften it by beating it with a wooden spoon and stirring the ingrdients in. They're absolutely so easy to make

fat ball feeder


You will need:

  • Block of lard or solid vegetable oil
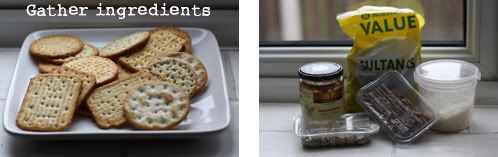
  • Whatever else you have on hand! Raisins, coconut, nuts, seeds, oats, biscuit or cracker crumbs, bacon rind
  • Netting/mesh
  • Wool or string

    Method:

  • Gather your ingredients for the fat ball, if using biscuit or cracker crumbs either bash them by hand or add them to a food processor and process until crumbs
  • Melt the lard/vegetable oil until it is a liquid (or soften it by beating with a wooden spoon), leave to cool slightly
  • Add the other ingredients. I usually make these when I have some stale crackers or baking, or old cheap biscuits that aren't being eaten. I add this first and stir together, then add in the other ingredients a bit at a time. You don't want the mixture to be too dry - it needs to stick together to form the balls.

    fat ball feeder


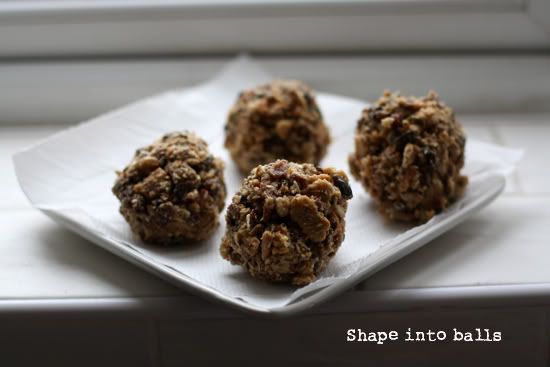
  • If you melted the oil, let it cool until almost set. If not, you can start straight away. Using your hands (or if you don't want to get them dirty an ice cream scoop works well) form balls with the mixture about the size of golf balls. Transfer to a piece of kitchen roll or baking paper and let cool until completely set.
  • Cut squares out of the netting/mesh and wrap a ball in the centre of each one. I used pea and bean mesh that I bought in the summer to grow my plants up. If you don't have any, using a needle you can thread wool or string through the centre of the balls whilst still soft and hang them up this way.
  • Hang them around the garden, then watch the birds come!
  • Tuesday, 5 June 2012

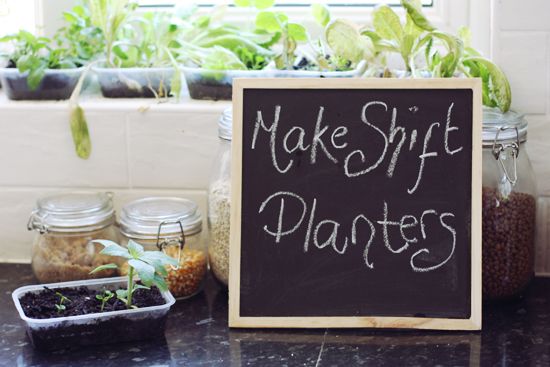
    Makeshift Planters

    diy plant pots

    Gardening is addictive. You plant your first few seeds and before you know it, you're hooked and buying purple carrots, yellow beetroots and all other kinds of crazy seeds.

    Of course, you also need somewhere to actually plant these seeds, and I ran out of space and containers, oh about a month ago?! We're in the middle of doing our garden up, it needed a lot of work and I'll eventually have some raised beds to put things into. But right now is when I need to be planting seeds so I'll have something to put in in a few weeks time.

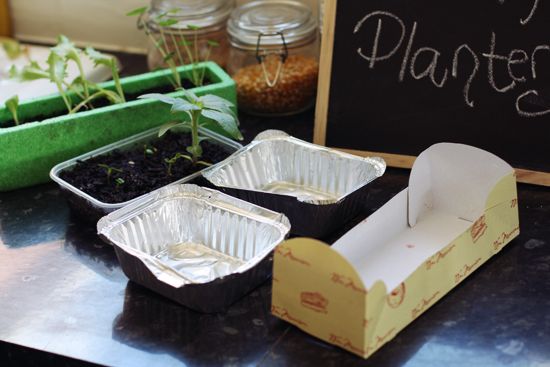
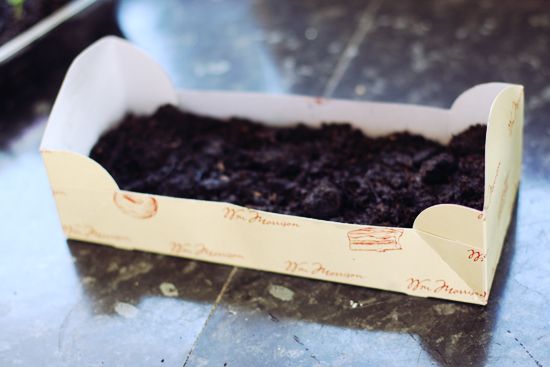
    I also love to recycle and save money, so rather than buying plant pots or using peat plant pots, I had a look around the house to see what I could recycle as plant pots.

    diy plant pots

    Here are some alternative things you could use:

  • Take away boxes or cartons
  • Small boxes
  • Reuse plant pots from other plants you've bought and planted on
  • Cut the bottoms off old bottles
  • Empty yoghurt pots
  • Newspaper plant pots

    You just need to make sure you put some holes into the bottom of anything you use.

    diy plant pots
  • Monday, 12 March 2012

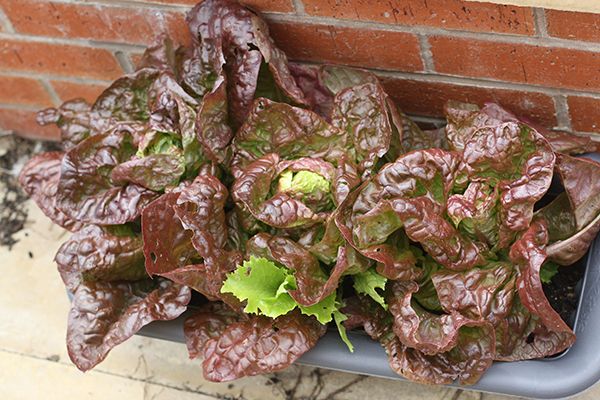
    How to Grow Lettuce


    So as promised, here is the first in my "how to grow" series. Some of these are so simple that I feel a little silly sharing them, but I guess for people that don't know and are interested to learn then they might be helpful. Before I started to grow my own fruit and veggies, I didn't have a clue where to start, so I hope this series will be good for anyone wanting to learn! If you have anything you're particularly interested in growing but are unsure how, leave a note in the comments section and I'll try to do a how to on it.


    1. You need a little tray to start the seedlings off in. The first year I tried growing lettuce, I sowed them straight outside which was an incredibly bad idea as the slugs ate them as soon as they sprouted! So it's best to start them inside. I've started using these old takeaway boxes as they're ideal and have a lid which is perfect, but any tray will do, you can recycle something or buy the trays from garden centres.


    2. Poke some holes in the bottom of your tray if it doesn't already have some. I used a pin for these but a small nail would be better as these are a little too small and I'll have to be careful not to overwater them.


    3. Fill the trays with compost, leaving a gap of about one or two cm from the top.


    4. Thinly sprinkle lettuce seeds over the compost. Don't tip the seeds straight from the packet as it's too easy to end up with a big clump. Tip some into your hand and sprinkle them over. For these trays, I put a mixture of iceberg lettuce and a pretty, marbled butterleaf lettuce. Finely cover with some more compost, then firm down the entire tray with your hand. Water gently so as not to wash the seeds away.


    5. Poke a couple of holes in the lid if what you're using has one and snap into place; if not you can use cling film, or it's not actually imperative that you had a lid, it just helps keep the seeds a little warmer. Put them on a sunny windowsill, and keep checking daily that the compost is damp, but not saturated.

    6. When shoots start to appear, take the lids off and leave them off. Let them grow on in the tray for a while longer. If they seem too close together, then you will need to thin them by pulling some out so they are more evenly spaced.

    7. When seedlings are big enough, transplant them into containers or the garden and let them grow to full size:

    how to grow lettuce

    Monday, 12 December 2011

    'Joy' Christmas Gift Tags

    handmade

    handmade
    So as promised, here are the second lot of Christmas gift cards. You can see how to make the glitter star gift tags here.

    Photobucket

    You will need:

    Card
    Pencil
    Scissors
    PVA glue
    Glitter - either to match or contrast with your card
    Ruler
    Hole punch
    Sheet of paper

    Method:

    1. Divide your piece of card up into squares or rectangles. Size is up to you - the one in this picture is about 2 inches square, but I made some smaller ones too.
    2. Cut out using pinking shears - this will give you a nice fancy edge but if you don't have them, don't worry, regular scissors will be fine too!
    3. Using a hole punch, punch a hole in one of the corners of your shape - this is for threading the ribbon through.
    4. The glue I used had a thin nozzle for the glue to come out of, otherwise using a paintbrush, write the word "joy" on your square.
    5. Holding the square over the sheet of paper, tip glitter all over the glue word. Make sure that it's completely covered.
    6. Leave your square on the piece of paper to dry.
    7. Repeat for all remaining squares. You could try different words too, I made some which said "snow" and "noel"
    8. When tags are dry (I left mine in a warm room overnight to make sure they were completely dry), tap each tag over the paper on the surface to get rid of any excess glitter. Move all tags to the side.
    9. Carefully tip any glitter on the paper back into the tube or container it came from.
    10. Write on the back of them, and use them to decorate your gifts!

    Friday, 9 December 2011

    Handmade Christmas Gift Tags

    It's beginning to look a lot like Christmas in our little house! The tree is up (which by the way, Izzy is obsessed with. If she's not laying in front of it, she's snuggling up under it!) and everything is officially in full swing.

    Photobucket

    For once, I actually have all Adam's presents sorted. I still have a couple of bits to get him, but I actually know what I'm getting. That in itself is a little Christmas miracle - normally I have absolutely no idea, that boy is impossible to buy for!

    Shopping for Christmas presents then wrapping them up is easily one of my favourite things about Christmas. I love to give gifts, especially when you can tell the person you've got them for really loves it! And I like to try and make my gifts look nice too, especially since I have them sitting under my tree for the entire month. This month, I thought it would be really nice to make my own gift tags for the presents. It was so easy, and I enjoyed doing it so much, I thought I'd share how I did them.

    handmade

    handmade

    Handmade gift tags

    You will need:

    Card
    Pencil
    Scissors
    PVA glue
    Glitter to match card
    Star template or stencil
    Hole punch
    Sheet of paper

    Method:

    1. I used a star shaped cookie cutter, and drew around this onto some red card.
    2. Cut out the stars.
    3. Using a hole punch, punch a hole in one of the corners of the star. We'll use this to thread the ribbon through later.
    4. Spread glue thinly and evenly over one of your cardboard stars.
    5. Holding the star over the sheet of paper, tip glitter all over the star on the side that you've just spread glue onto. Make sure that it's completely covered.
    6. Leave your star on the piece of paper to dry.
    7. Repeat for all remaining stars.
    8. When stars are dry (I left mine in a warm room overnight to make sure they were completely dry), tap each star over the paper on the surface to get rid of any excess glitter. Move all stars to the side.
    9. Carefully tip any glitter on the paper back into the tube or container it came from.
    10. Write on the back of them, and use them to decorate your gifts!

    Note: After drying, I noticed my stars were a little bit bent in the middle. To fix this, I just laid the stars on my desk, and put a heavy book over them. After a couple of hours, they were perfectly flat again!

    Check back on Monday for the how-to for the 'Joy' Christmas tags that I made! Hope you have a wonderful weekend.

    Tuesday, 15 November 2011

    Dried Apple Rings

    This time of year, apples are generally at their best. At work, we were recently given a massive bag of them. We let the kids do apple bobbing on Halloween, but as we're doing a hamper to raffle off at Christmas time, I said I would bring any apples that were left home to make something for the hamper with.

    apple, recipes, preserving, dried apple rings, vegan, how to, fruit, healthy, natural

    These are incredibly easy to make and require very little effort! You just have to keep a bit of an eye on them.

    What you need:

    4 apples
    1 lemon or lime

    Method:

    Wash and core your apples, and remove any bruised bits.

    apple, recipes, preserving, dried apple rings, vegan, how to, fruit, healthy, natural

    Slice into rings about 3mm in width. They need to be fairly thin, and fairly uniform in size so they dry at an even rate. Put them in a bowl and squeeze over the juice of one lemon or lime, and toss to coat. The lemon/lime stops the apples from going really brown.

    apple, recipes, preserving, dried apple rings, vegan, how to, fruit, healthy, natural

    String the apple rings, and hang them up to dry. You need somewhere warm but that has a good airflow too. It's important to make sure the apple rings aren't touching.

    apple, recipes, preserving, dried apple rings, vegan, fruit, healthy, natural,

    I put my apple rings over the radiator vent in the kitchen - it's warm but a lot of air circulates as it's close to the back door. Leave them to dry for about a week or so, but remember to just keep an eye on them, make sure they don't slide together.

    LinkWithin

    Related Posts Plugin for WordPress, Blogger...